Last week I was given a free secondhand HP 17-x051nr, an inexpensive Intel i3-based laptop. For the price of a $30 replacement battery and an SSD I had on-hand I now have a newish laptop to use.
Getting the 20.04 LTS release of Ubuntu running on it had some issues, so here’s a guide to working around these and getting the latest Ubuntu LTS installed.
Symptoms
The installation screen would become unresponsive around the Installation type screen where I would select how I wanted to format my drive. I was able to open a terminal and run top and I noticed that systemd takes up 100% CPU usage. Eventually the whole system would freeze and leaving it overnight to finish installing didn’t help.
Switching over to the Try Ubuntu option wasn’t much better. I would see a TTY screen with flashing error messages that were scrolling too fast to read and it would eventually lock up entirely.
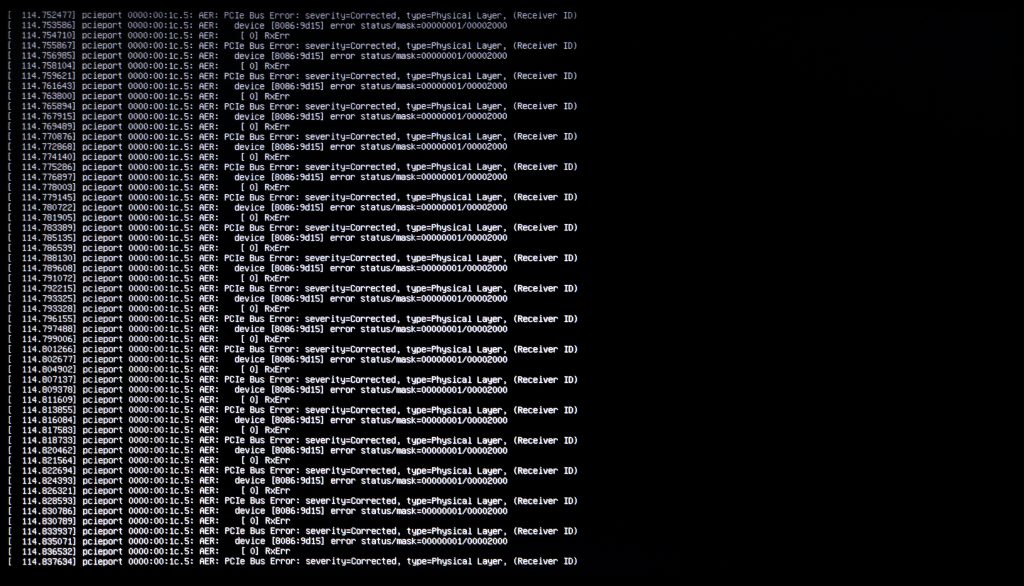
pcieport 0000:00:1c.5: AER: PCIe Bus Error: severity=Corrected, type=Physical Layer, (Receiver ID)
pcieport 0000:00:1c.5:   device [8086:9d15] error status/mask=00000001/00002000
pcieport 0000:00:1c.5:    [ 0] RxErr
This laptop was released in August, 2016, which is not that old for a PC. It should still run a new Ubuntu version just fine. It turns out this is a relatively common issue on laptops.
The Fix
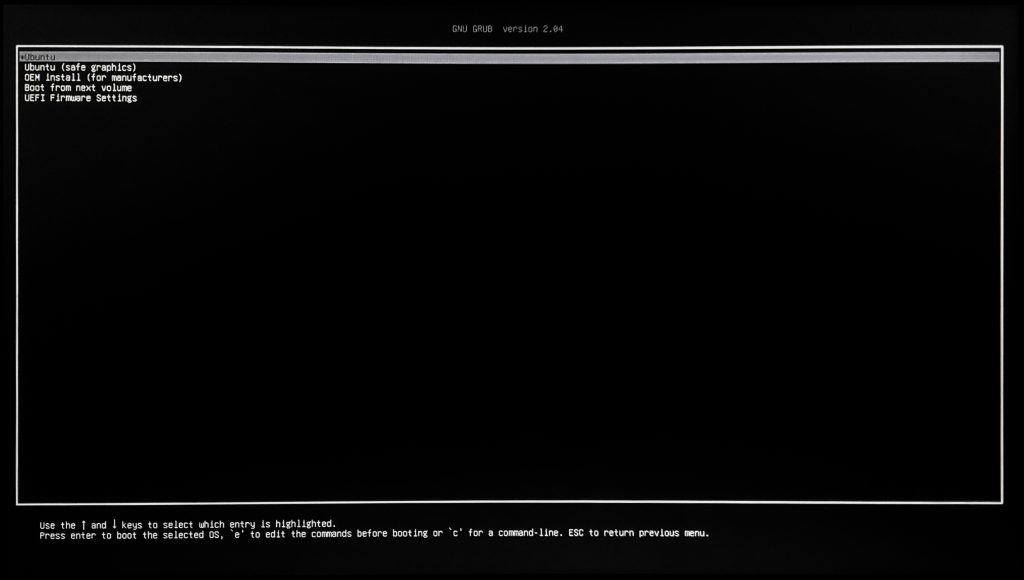
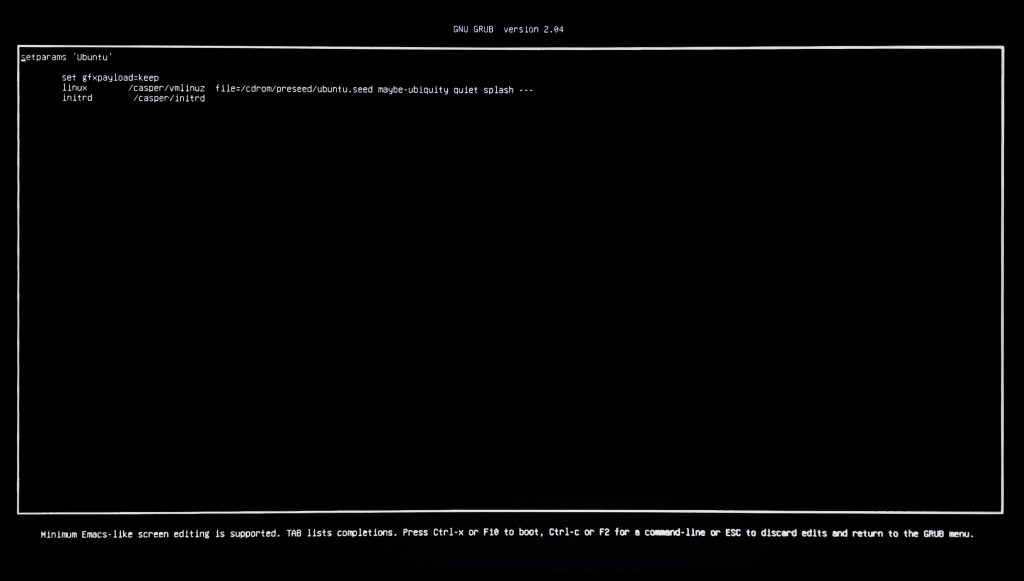
The first step is to change the GRUB boot line for the live Linux boot media. When the GRUB menu opens up press ‘e’ to edit the launch commands.
You’ll want to add pcie_aspm=off following directly after the splash parameter on the linux line.
Once you’re able to boot use the Try Ubuntu option. Maybe the regular installer works for some people but I wasn’t able to get it to run. You should not see any PCI express errors flashing on the screen at this point. Once the desktop environment opens, launch the installer from there. Do not connect to WiFi, and do not install any extra packages because it will cause the installation to fail. (I.e., use the Normal Installation option, but don’t install the third party software and do not download updates. You can do both of these later.)
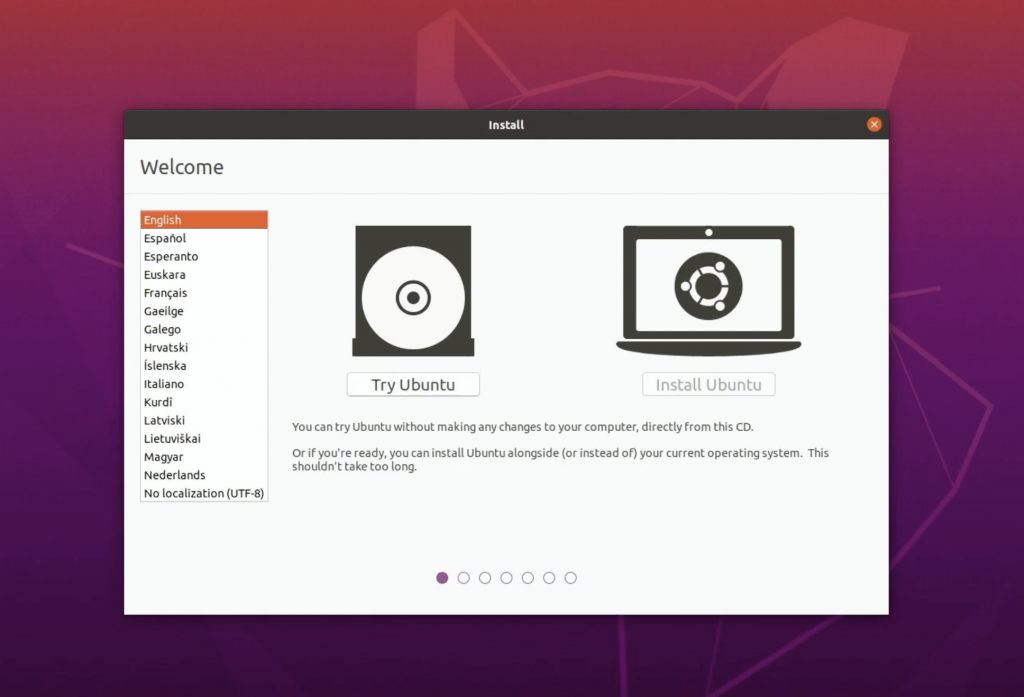
As a side-note, I would recommend keeping UEFI enabled.
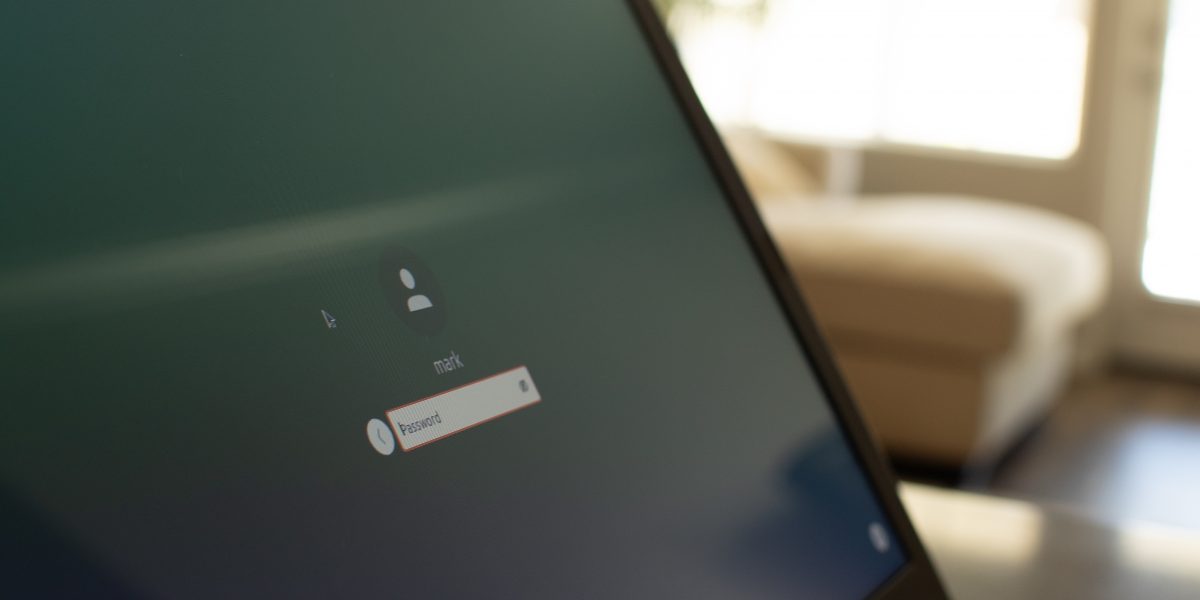
Once you finish the installation you may reboot and remove the installation medium. You’ll be getting PCIe errors again but it will eventually boot. Log in and use your favorite editor to open up /etc/default/grub as admin. We want to change this line:
GRUB_CMDLINE_LINUX_DEFAULT="quiet splash"
to this:
GRUB_CMDLINE_LINUX_DEFAULT="quiet splash pcie_aspm=off"
Save and then update GRUB:
sudo update-grub
I would recommend rebooting after this. Everything should be working smoothly now. Please drop a comment if this helps or if you’re still having issues.
Thanks that was great ,and it helped me a lot.
I’ve been struggling for weeks and I tried so many tutorials.. THANK YOU!
Thenk to all indians for good tutorials they really helpd me
It worked for me thank you
Nice…completely worked for me also… Superb…. Thanks
Thanks! Saved my life!! Got stuck for two days until I found your solution.
Thanks brother. This also worked for my linux mint. Really thanks bro.
Wow thanks man .
After weeks of failure.
I was strugging with installing Ubuntu Mate and Linux Mint for days, both had this issue. This guide was very detailed and fixed my issue. Thank you so much!